
Explore the Art of Garland Making with Tips from Rungarlands
Garlands have a unique charm that can transform any space, adding a touch of elegance…
Garlands have a unique charm that can transform any space, adding a touch of elegance and creativity. At Rungarlands, we believe that making your own garland is not just a craft, but an art form that allows you to express your personality and style. Whether you are preparing for a special occasion or simply want to brighten up your home, our tips will guide you through the process of creating stunning garlands that will impress everyone.
Choosing the Right Materials
The first step in creating a beautiful garland is selecting the right materials. Consider the occasion and the overall aesthetic you want to achieve. Fresh flowers, dried foliage, ribbons, and even paper can all be used to create unique designs. When choosing flowers, opt for varieties that complement each other in color and texture. For a more rustic look, incorporate natural elements like twigs and leaves. Remember, the materials you choose will set the tone for your entire garland.
Once you have your materials, it’s essential to prepare them properly. Trim the stems of fresh flowers at an angle to ensure they absorb water effectively. If you’re using dried flowers, make sure they are clean and free from dust. Ribbons should be cut to the desired length, and any additional embellishments should be organized for easy access. This preparation will streamline your crafting process and enhance the final product.
Designing Your Garland
Designing your garland is where your creativity can truly shine. Start by laying out your materials on a flat surface to visualize how they will look together. Experiment with different arrangements until you find a combination that feels right. Consider the length and thickness of your garland; a thicker garland can make a bold statement, while a thinner one can be delicate and subtle. Don’t be afraid to mix textures and colors for a more dynamic look.
As you design, think about the balance of your garland. Distribute colors and shapes evenly to create a harmonious appearance. If you’re using multiple types of flowers, alternate them to avoid clustering similar colors together. This technique will help your garland feel cohesive and well thought out. Remember, there are no strict rules in art, so trust your instincts and have fun with the process!
Assembling the Garland
Once you have your design in mind, it’s time to assemble your garland. Start by securing the base of your garland, which could be a sturdy string, wire, or even a natural vine. Begin attaching your materials from one end, working your way to the other. Use floral wire or twine to secure each piece, ensuring they are tightly bound but not so tight that they damage the flowers. This step is crucial for the longevity of your garland.
As you assemble, step back periodically to assess the overall look. This will help you catch any imbalances or areas that need more attention. If you notice any gaps, fill them in with smaller elements like greenery or filler flowers. The goal is to create a seamless flow from one end of the garland to the other, making it visually appealing from all angles.
Displaying Your Creation
After your garland is complete, it’s time to showcase your handiwork! Consider where you want to display it; garlands can be hung on walls, draped over furniture, or used as table centerpieces. If you’re using fresh flowers, keep in mind that they will need water, so choose a location that allows for easy maintenance. For dried garlands, you can get creative with how you display them, as they require no upkeep.
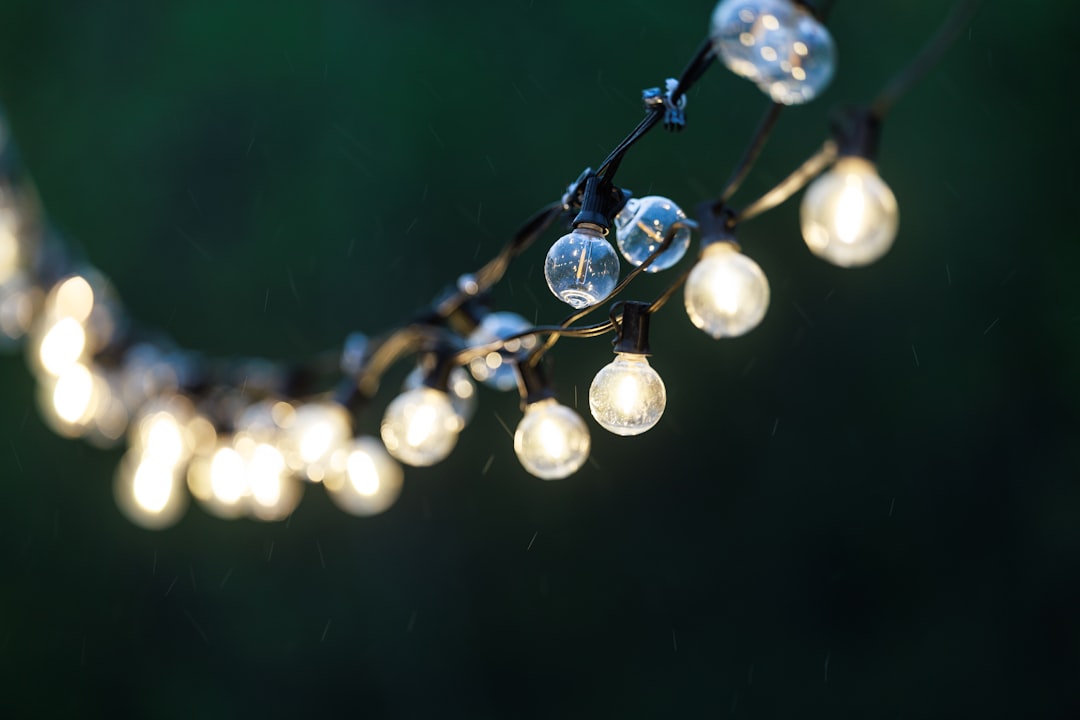
To enhance the visual impact, consider pairing your garland with complementary decor. For instance, if your garland features vibrant flowers, use neutral-colored vases or tableware to let it stand out. Lighting can also play a significant role; soft fairy lights intertwined with your garland can create a magical ambiance. Remember, the way you display your garland can elevate the entire aesthetic of your space.
Checklist:
Before you start your garland-making journey, ensure you have all your materials ready, plan your design layout, and choose the perfect display location. With these steps in mind, you’re well on your way to creating a stunning garland that reflects your unique style. Embrace the process, enjoy the creativity, and let your garland-making adventure begin!